How to Create Pinterest Pins That Drive Traffic: An Honest 2026 Workflow
One product can support a whole set of keyword-led pin variations. Here's the no-fluff way to make pins that don't look AI-made, point each one at a relevant page, and measure the outbound clicks that actually reach your site. Steal the workflow — skip the guesswork.
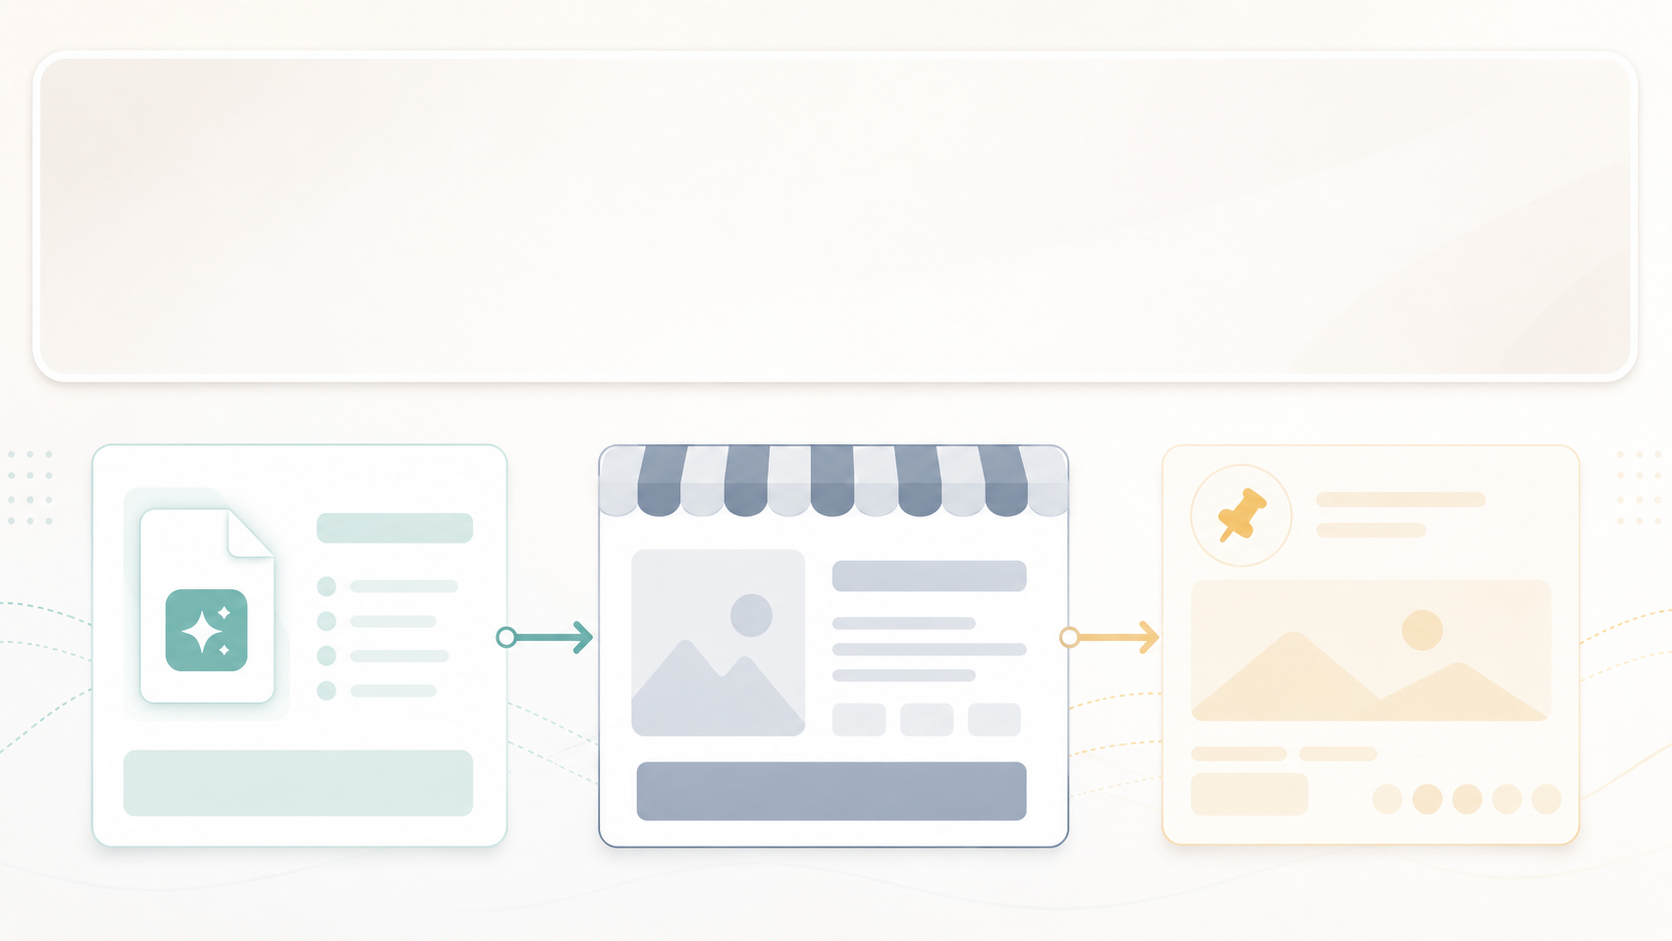
The honest workflow is short: start from a pin template, drop in a custom visual — a product image or a short video, not generic stock — add your keyworded headline, download it, and post to Pinterest yourself. One product becomes a batch of pins, each built around a phrase people actually search.
Best for
- Driving free traffic to an Etsy listing, a blog post, or a product page on a new account.
- Building a repeatable set of distinct pin variations around the search language people actually use.
- Faceless brands that want a consistent, custom look without hiring anyone.
Not best for
- Anyone expecting Pinterest overnight. Pins compound over months, not days.
- Plain text pins with no visual. Pinterest is a visual search engine — a strong image or short video does the heavy lifting.
The workflow, step by step
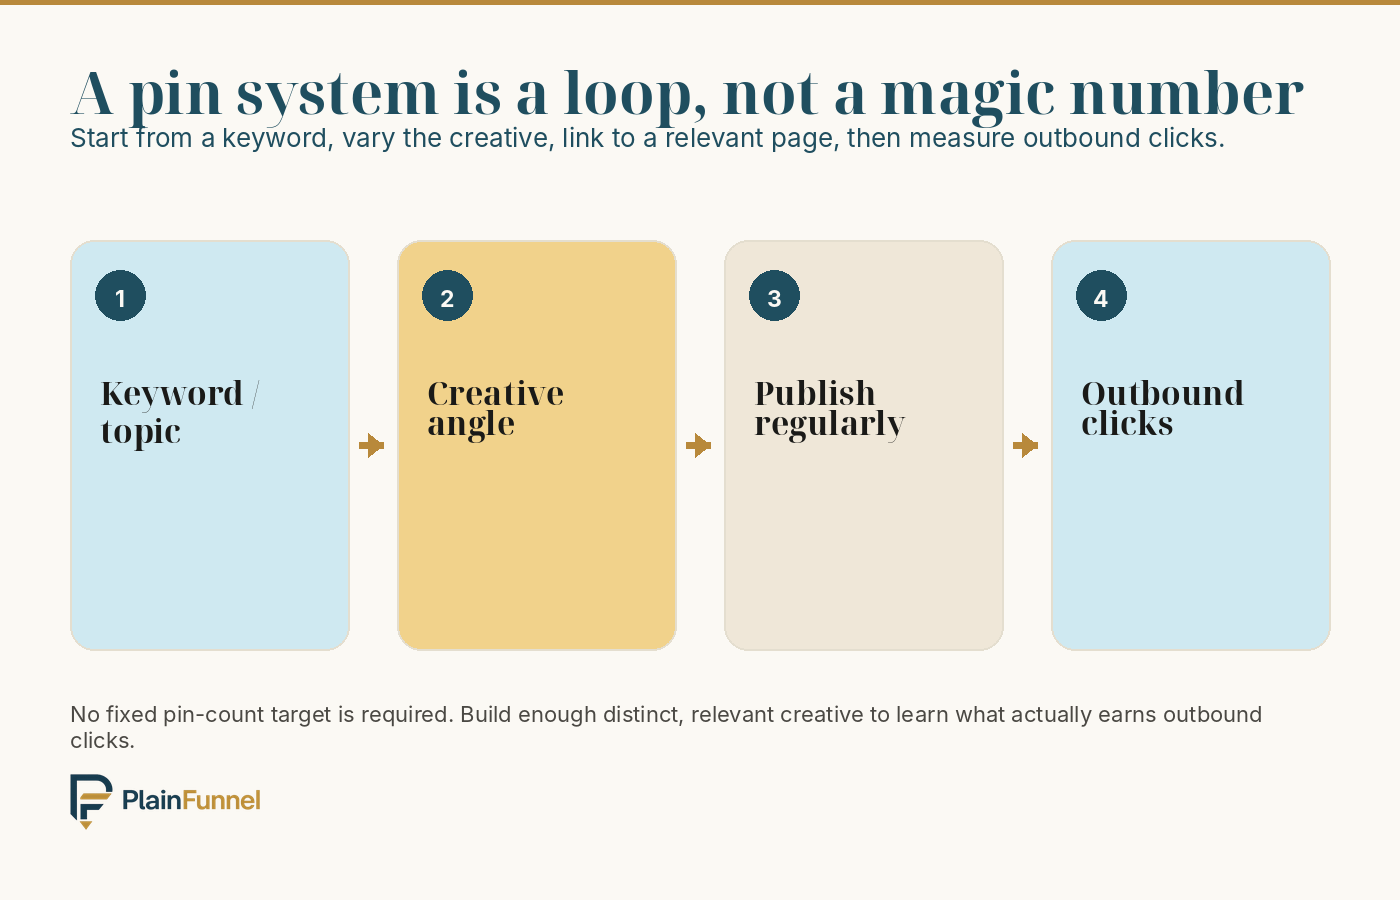
- Start from a keyword, not a vibe. Pull the phrases real people search (a free keyword tool is enough) and build each pin's title around one of them.
- Start from a pin template. Use our pin templates or a design tool you already have. A few master layouts — how-to, list, comparison, checklist, stat — keep every pin on-brand and fast to fill.
- Make the visual genuinely yours. This is the difference between your pin and everyone else's stock: create a unique product image or a short video in your design tool and drop it into the template. A short video pin also repurposes straight to Reels, Shorts, and TikTok.
- Add the headline and download. Place your keyworded title on the template, keep it readable, and export the finished pin (and any video) to your computer.
- Upload to Pinterest yourself. Post each pin manually with its keyworded title, a descriptive caption, and the link back to your listing or article. Publish original pins regularly instead of treating one bulk upload as the whole strategy — Pinterest currently recommends creating new original pins at least weekly, and its scheduler can be used where available.
- Measure outbound clicks, not impressions. Impressions only tell you a pin appeared. Outbound clicks tell you someone actually left Pinterest for your page, and that's the only number that can turn into a sale.
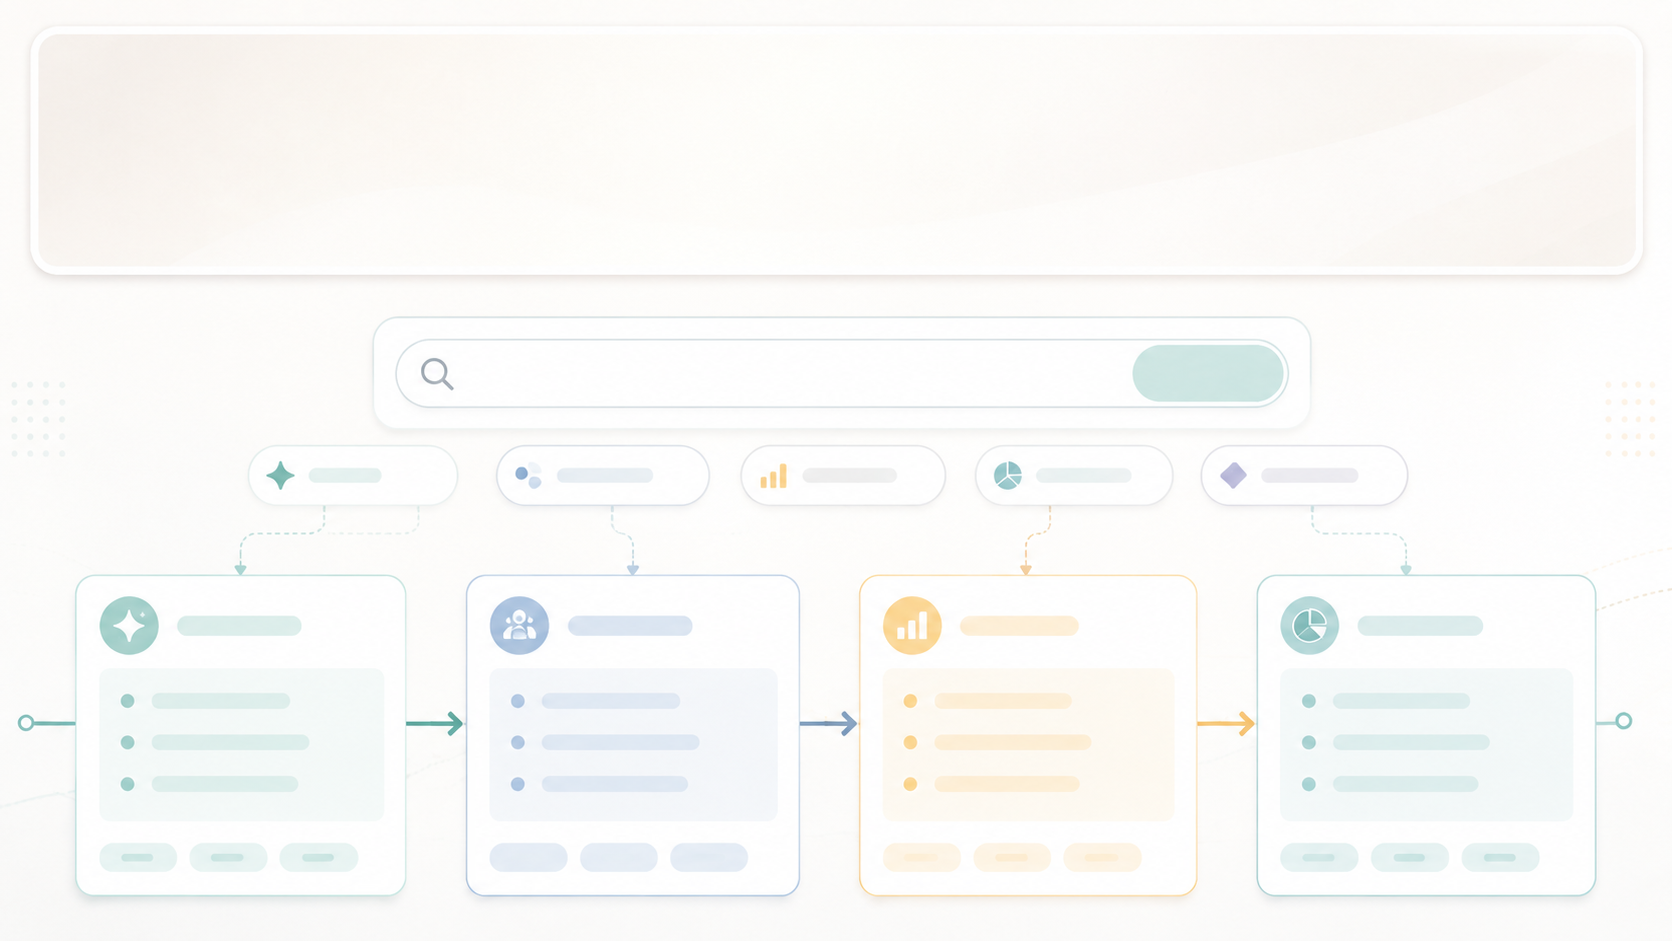
A template plus your own visual beats generic stock every time. Make it once, download it, post it.
What you need
| What you need | Role | Approx. cost |
|---|---|---|
| Pin templates | On-brand layouts you fill in fast | Our pin pack (low one-time) or a design tool you already use |
| A design tool | Custom product images + short video | Reuse a small set of visuals to keep costs down |
| Free distribution | Free |
Free guide: the full step-by-step for taking one digital product from idea to a live listing — the real steps, the actual fees, and the numbers most guides skip. Get it free →
A note on tools (the honest part)
You don't need any one specific app for this. General design tools now include their own AI images and short video, so you can build a pin start to finish in a single place if you prefer. Our angle is simpler and faster: grab a ready-made pin template, make the visual genuinely yours instead of using stock everyone recognizes, then download and post. Use whatever gets you from idea to posted pin in the fewest steps.
Pros
- Your pins look custom, not like the stock everyone else pulls.
- One product turns into dozens of keyword-targeted pins.
- A video pin doubles as Reels, Shorts, and TikTok content — one asset, many platforms.
Cons
- Posting is manual for now — you download each pin and upload it yourself.
- AI image and video credits cost money, so reuse visuals instead of generating a fresh one per pin.
- Pinterest is a slow compounder; consistency beats any single perfect pin.
Best alternatives
| Approach | When it fits |
|---|---|
| Our pin templates + your own custom visual | You want pins that look custom and a head start on the layout |
| An all-in-one design tool | You'd rather do everything in one app and stock visuals are fine |
| A short video pin | You want the format that also feeds Reels, Shorts, and TikTok |
Final recommendation
Keep it fast: start from a template, make the visual yours with a custom image or short video, download, and post. Build a small set of reusable visuals so you're not paying to regenerate every time, and pin consistently. Publishing steadily gives you more chances to learn which creative and which search angles actually earn outbound clicks.
Want the full content-to-pins system? Get the Pinterest Traffic Pin Pack — templates, keywords, and a 30-day plan.
See the Pin PackRelated guides
- How to sell AI digital products on Etsy — the listing your pins should point to.
Our pin templates are our own product, so we have an interest in recommending them. We point to them because they fit this workflow; Pinterest and any third-party design tools are independent. Pricing and features change — verify current details before buying. Educational only, not financial advice, no income claims.
Get the honest digital-products starter guide
The full step-by-step from PlainFunnel — free, no hype.